I have lots of projects that either need a lathe and mill or lots of hand work. Filing metal seems to be the only way I have to dimension and shape metal. Until such time as I can afford in both money and shop space a small mill and lathe, I am stuck spending hours filing. I hate filing. A while ago I watched “This Old Tony’s” YouTube episode where he takes delivery of a Die Filer. This is a fairly large machine that moves a file up and down that you can then put your work against. Its like a scroll saw where the blade is replaced with a file. Now the Die Filer that Tony got was larger than the mill I have my eye on and could file inch thick steel. Not something I could use. But how but a much smaller one? There is a kit available for a small one, but it needs a mill and lathe to complete. Sometimes they come up on eBay but mostly for local pickup only and they are almost always on the other side on the country. So what is a gut to do?Well it so happened that my electric jigsaw was going south. I got a new one and was about to toss the old one when I realized I might be able to press it into a die filer. And that is what I have done. The following are some pictures and the steps I took to make my version 1.0 of a jigsaw die filer.
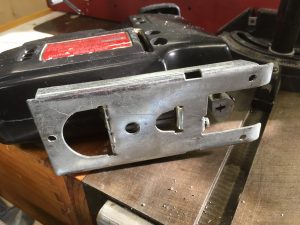
- Took apart the jigsaw to remove the chunk of metal that the saw blades fit into. This was held in place with a friction fit and a roll pin. I punched of the pin and then drilled a hole where the saw blades go to receive the handles of my jewelry files. The set screws for the blades now tighten onto the files. If your jigsaw has a fancy pants spring lock connector system, you might need to get a block of metal made as a coupler between the jigsaw’s reciprocating shaft and your files.
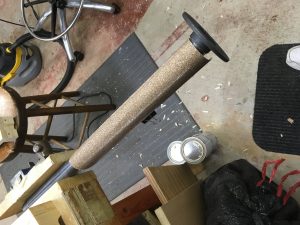
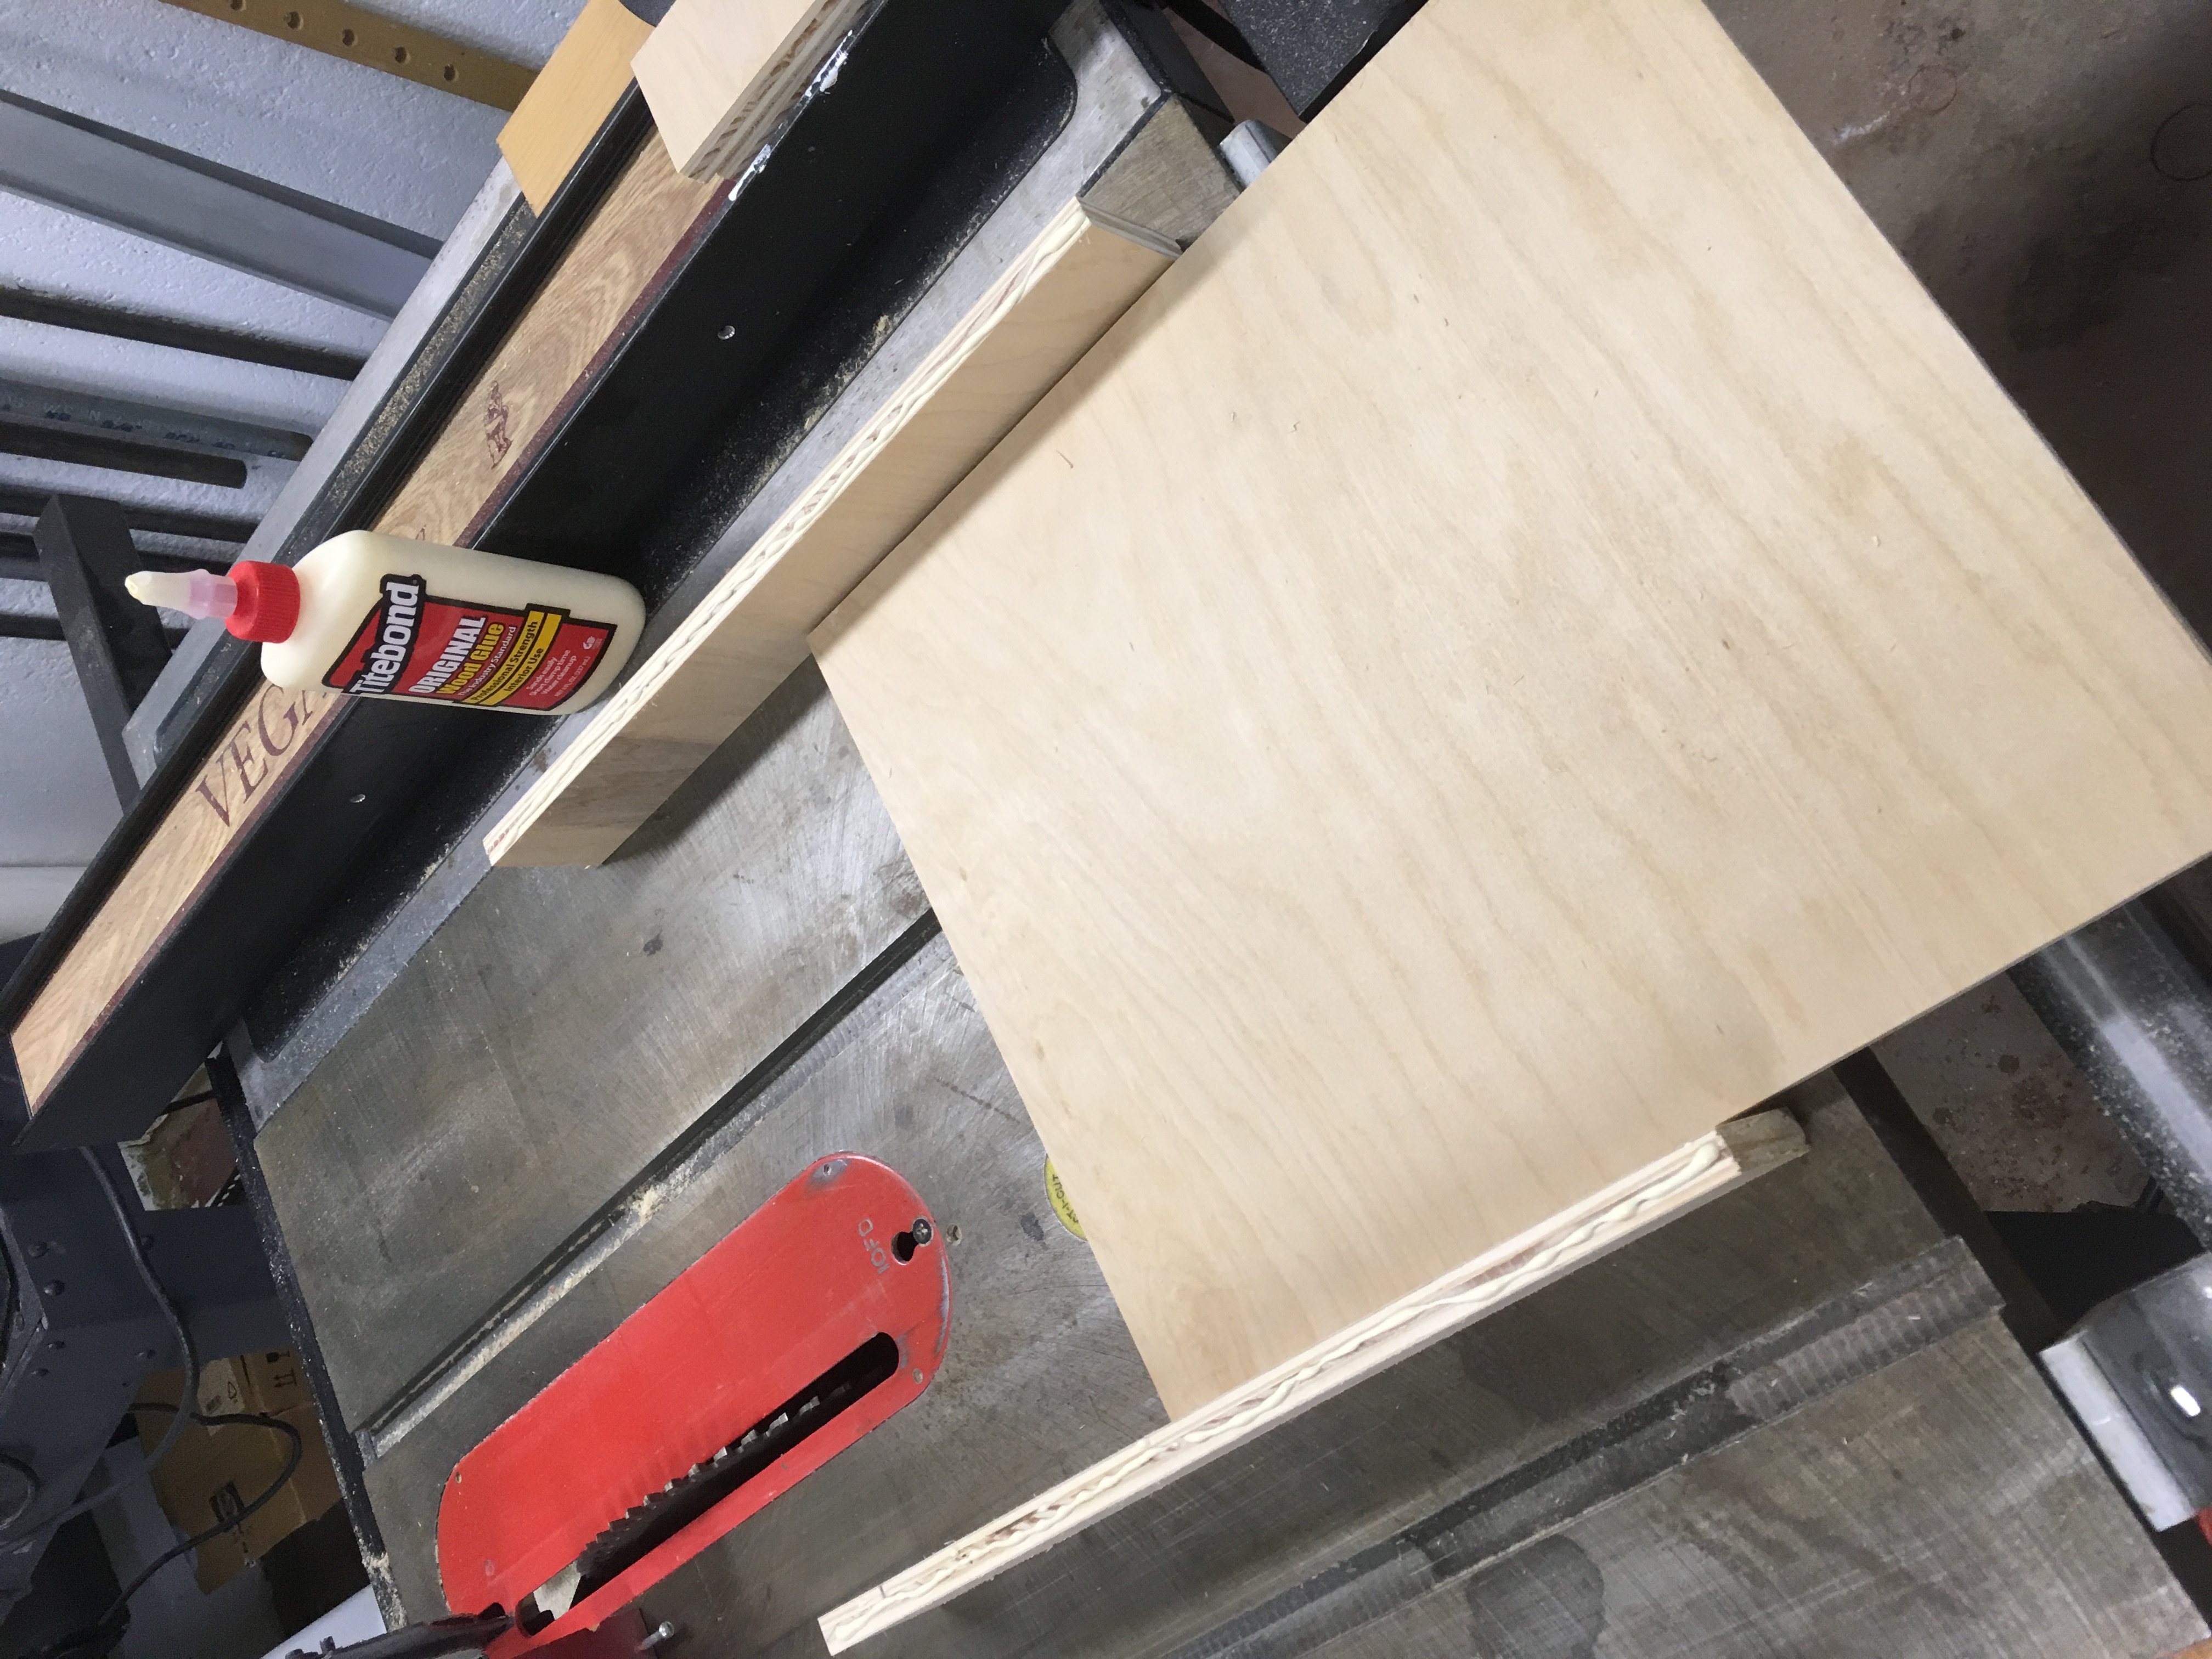
- Run out to Home Depot and buy some supplies. An 18″ length of black pipe, a floor flange for it, a 2’*2′ sheet of indoor 1/2″ Baltic birch ply wood, a length of 1*4 pine, and some nuts and bolts.
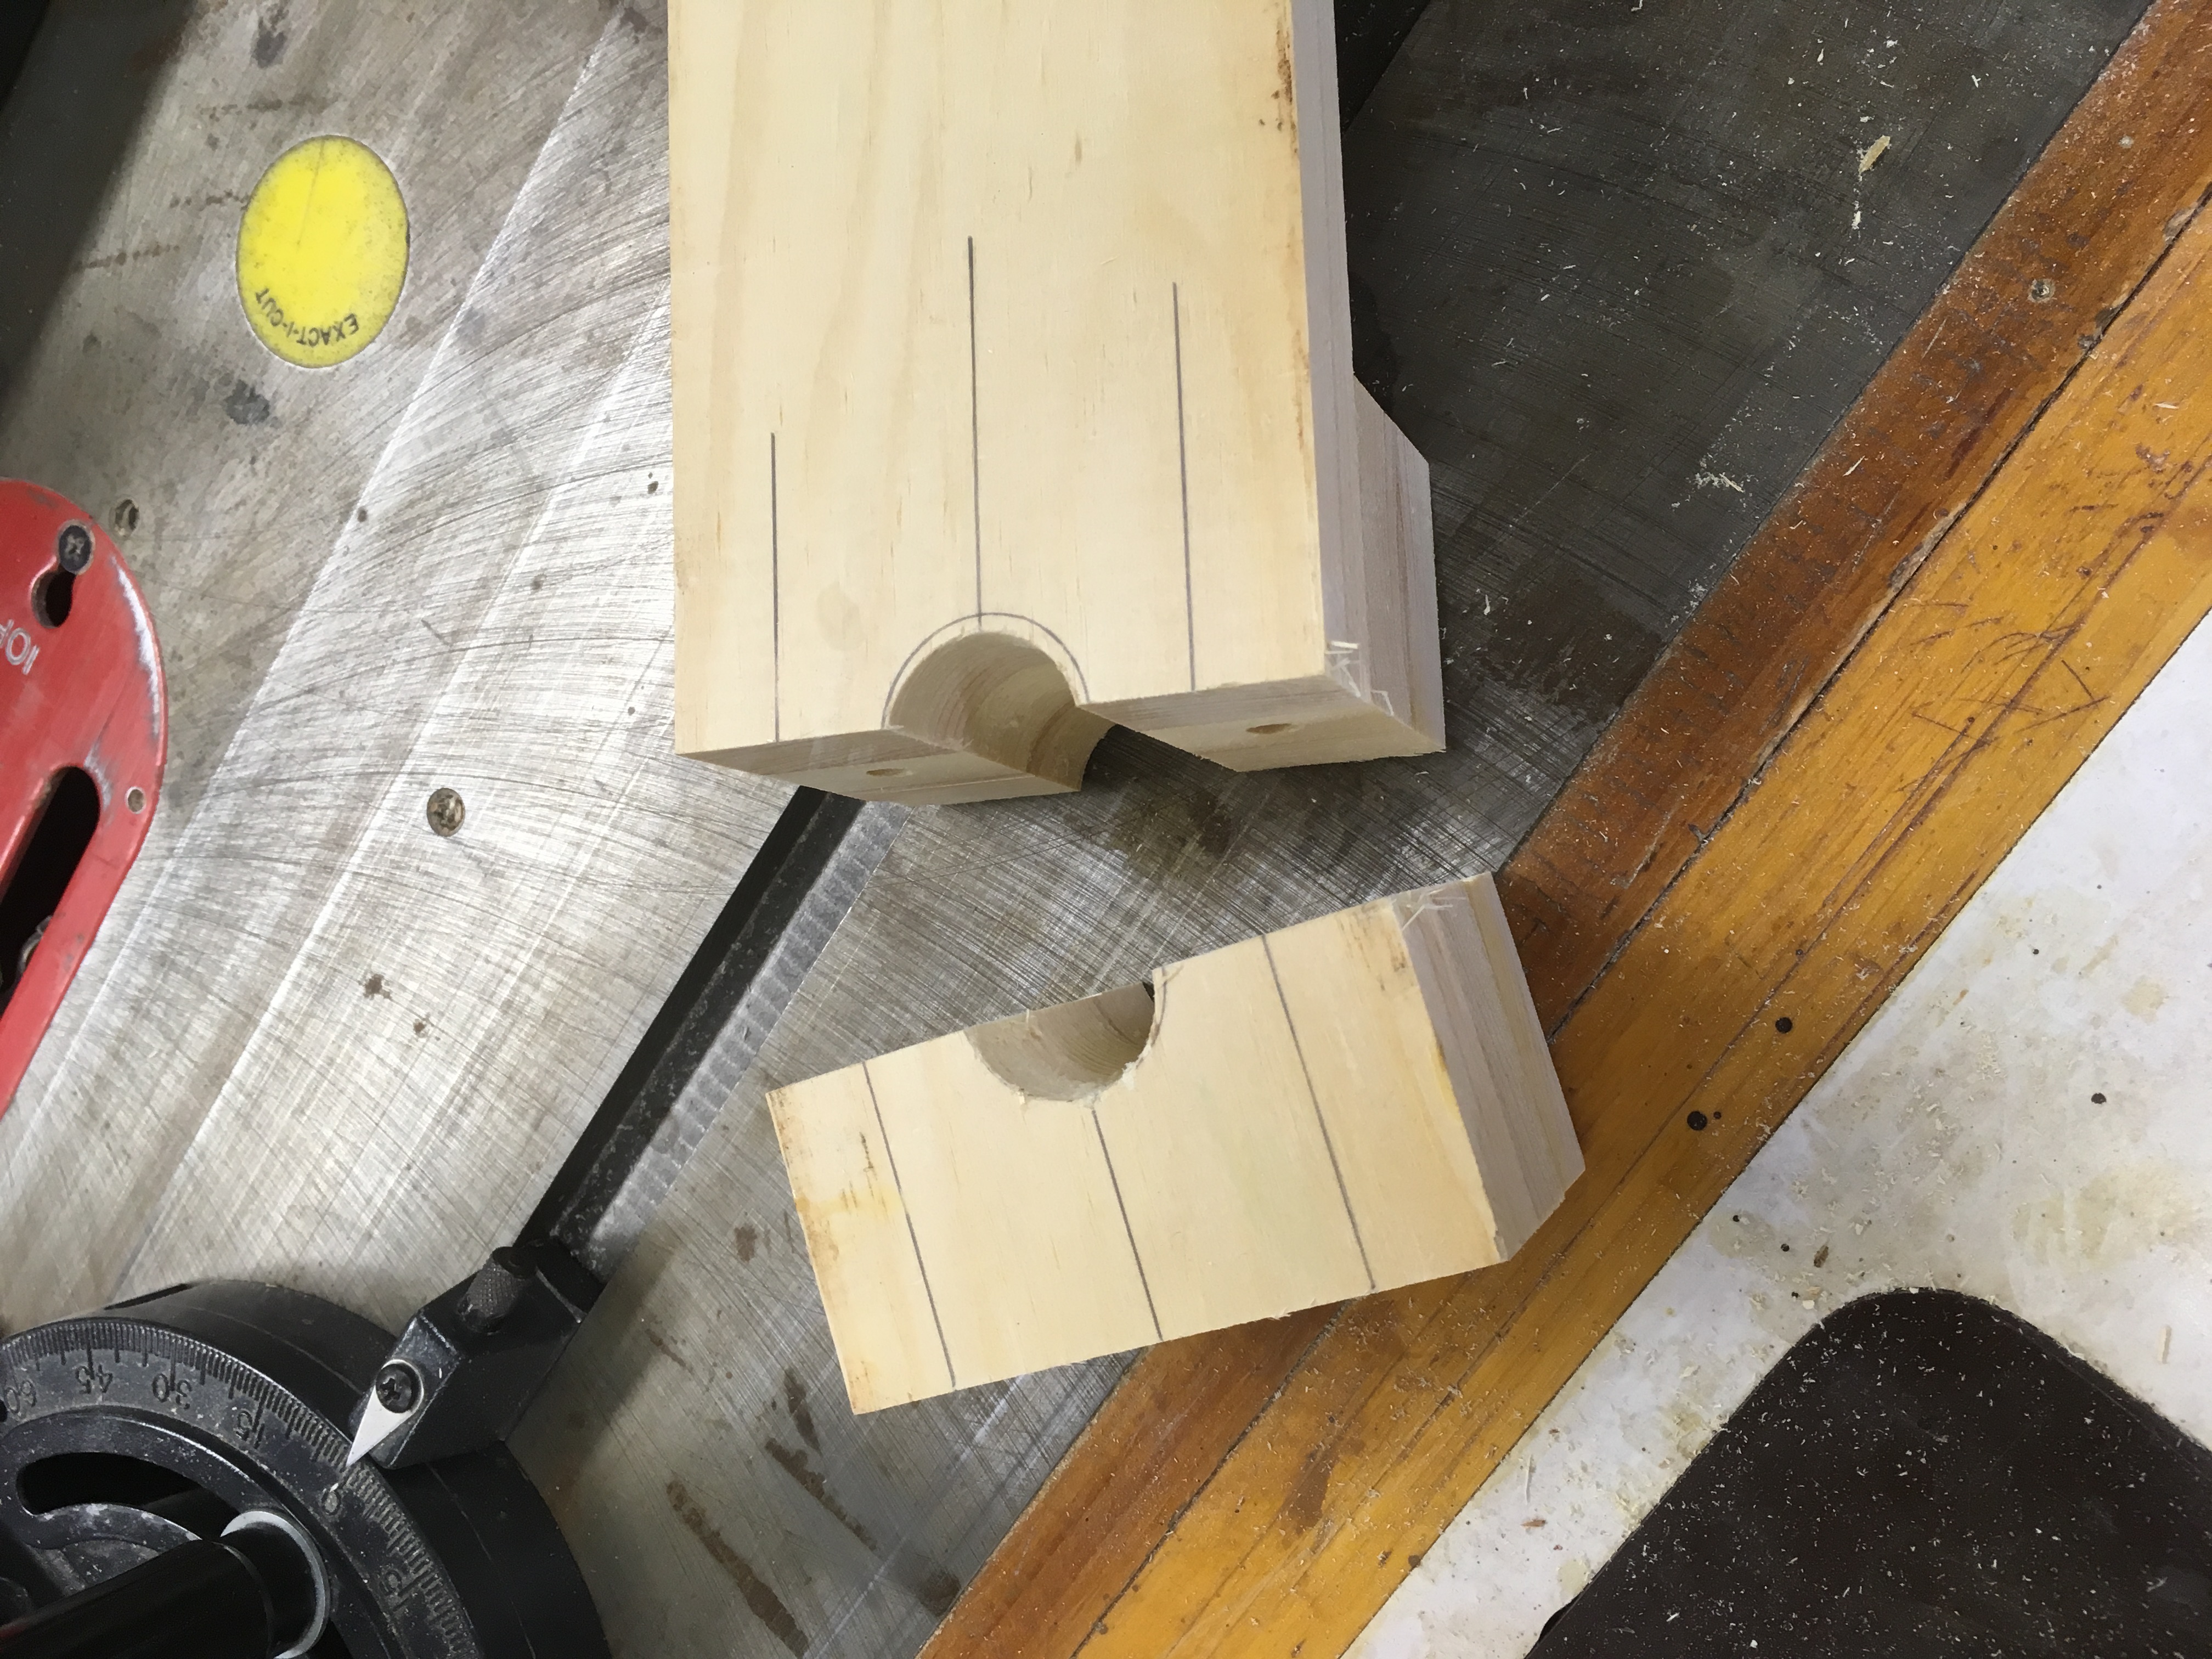
- Make the “diving board”. I laminated two 3.5″ square blocks of pine onto the rest of my pine board. Once the glue was dry, I drilled holes for the 1/4″ carriage bolts, then a 1″ hole for the black pipe, and then sliced it apart.


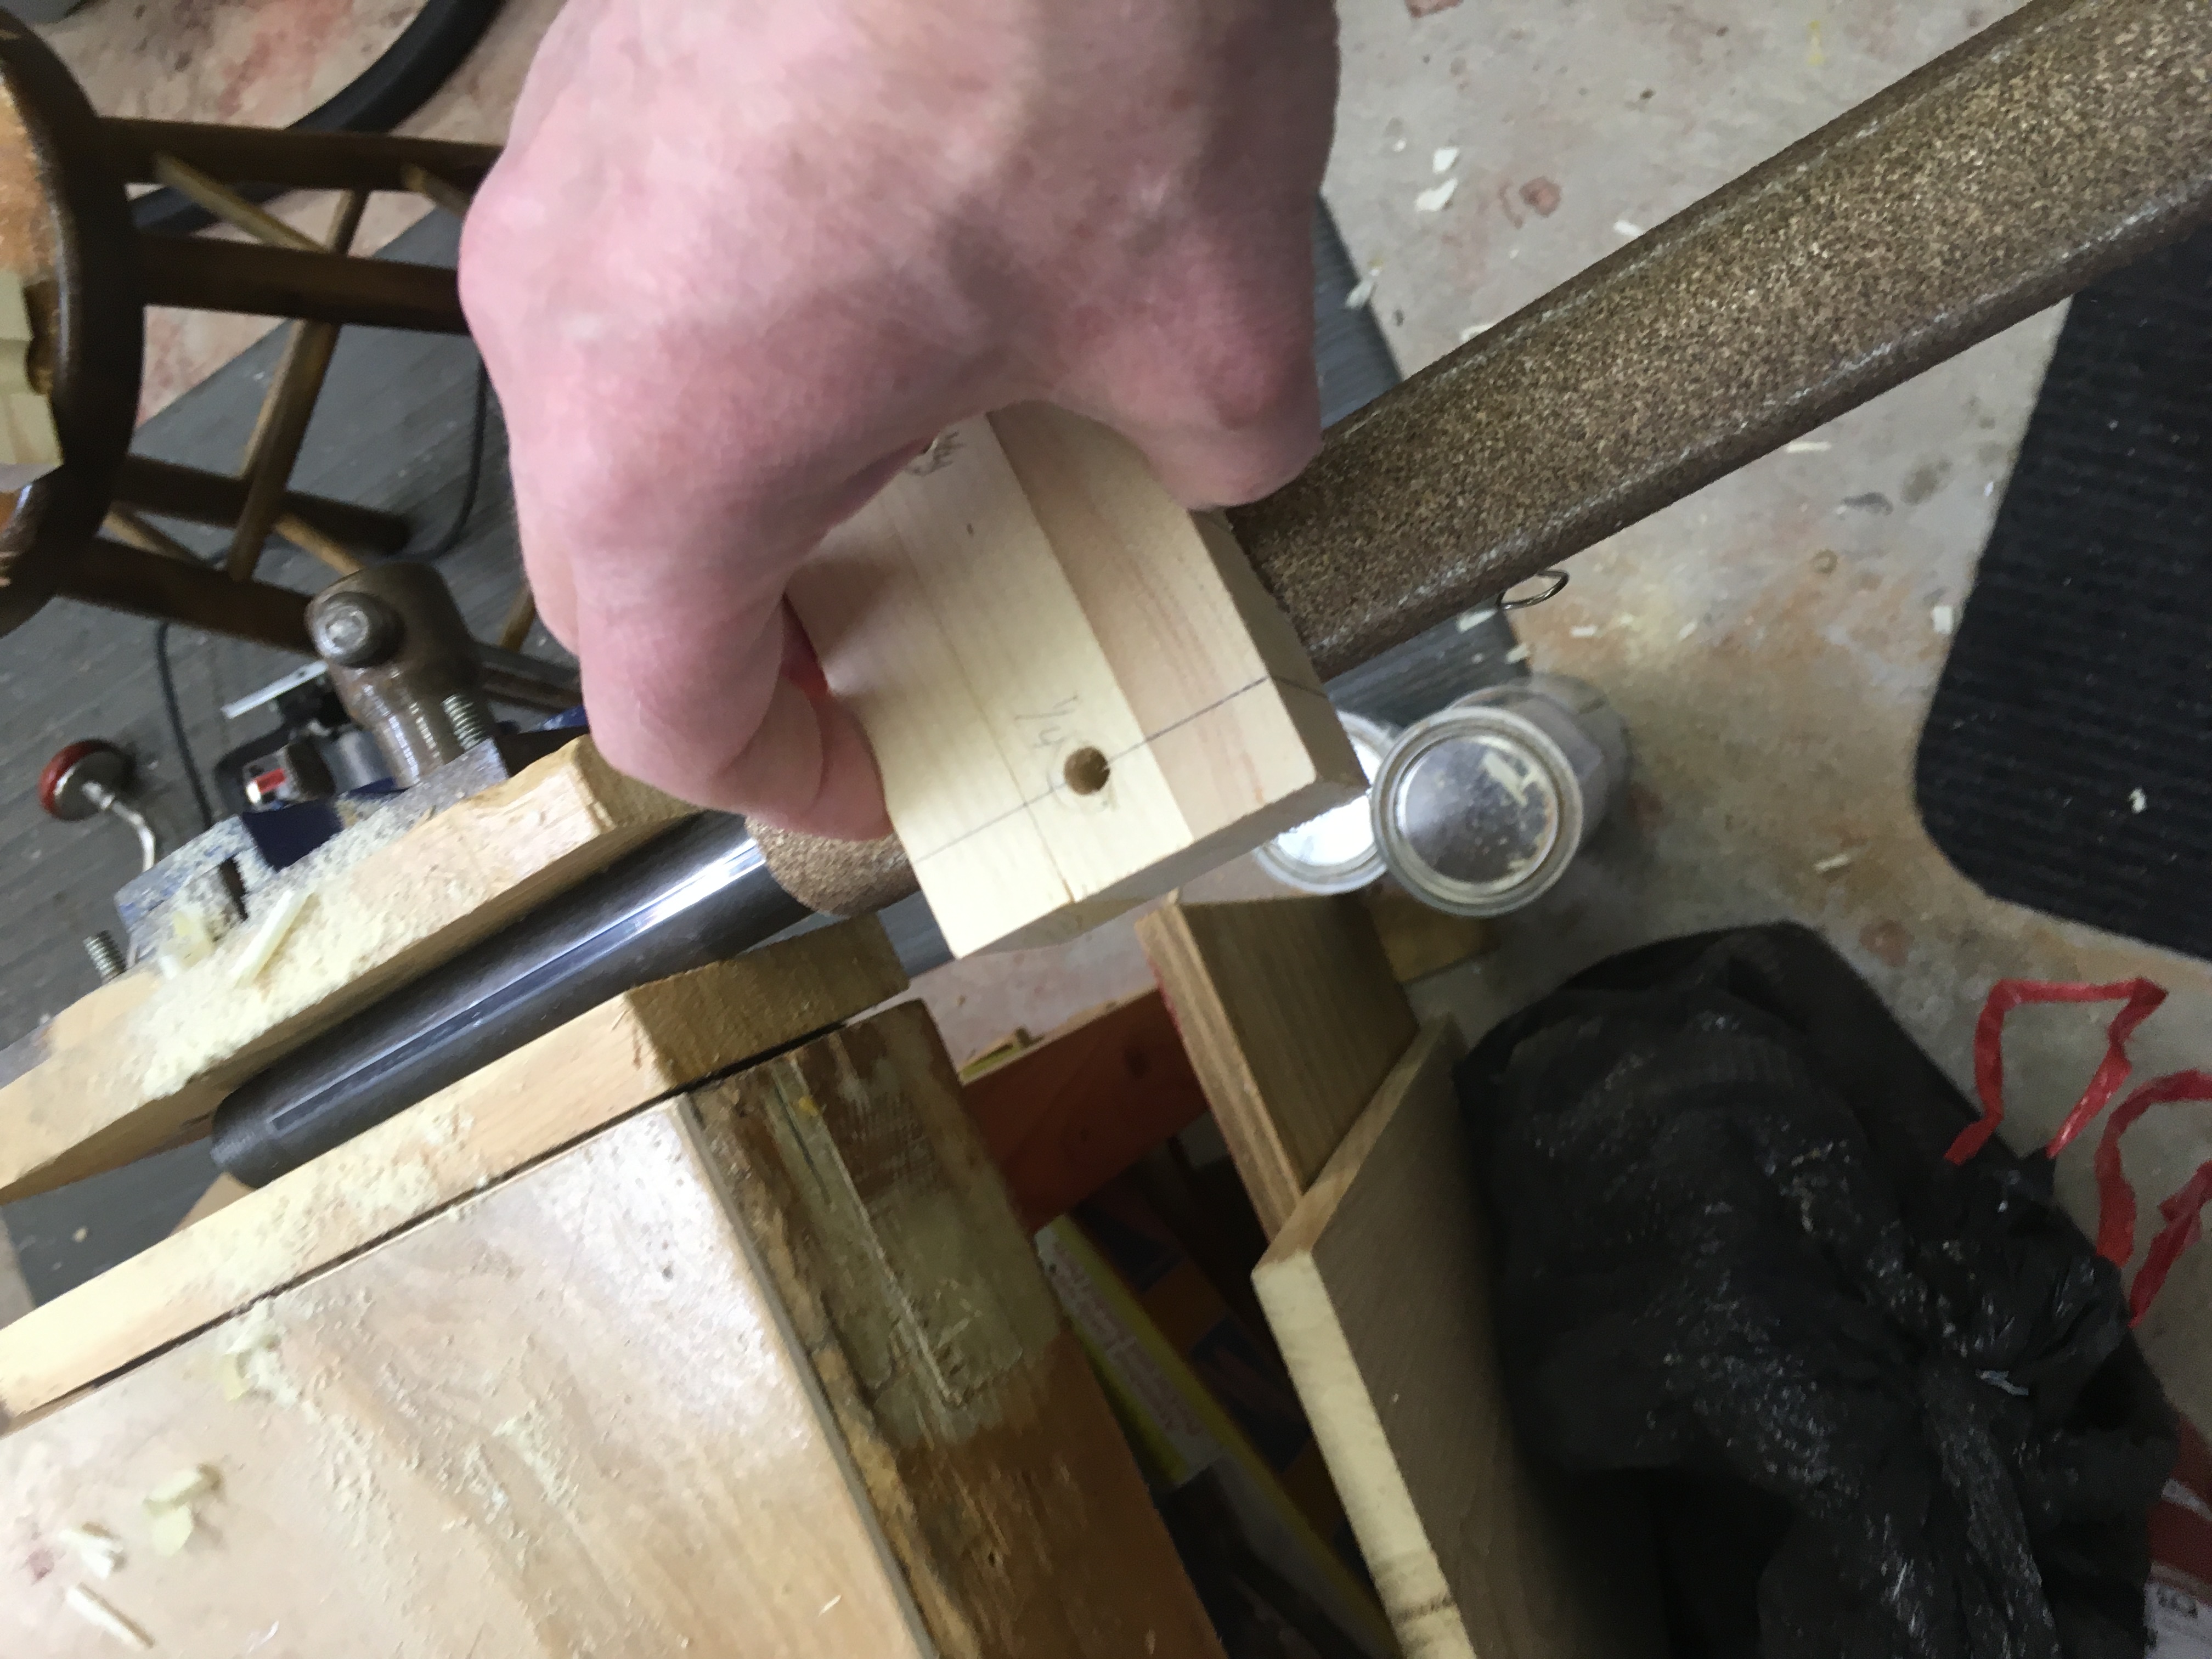
- Unfortunately the black pipe is 1+1/16 in diameter. So I spent some quality time with sandpaper wrapped around the pipe till I got a reasonable fit.

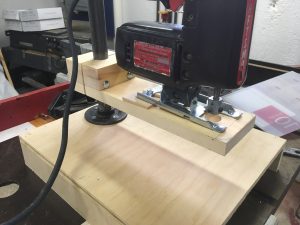
- Drilled mounting holes in the diving board and the sole of the jigsaw for some #10 machine bolts. Also drilled a hole for the file to pass through.
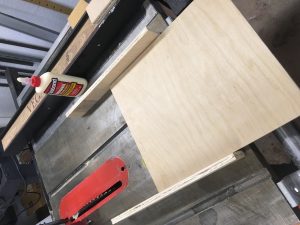
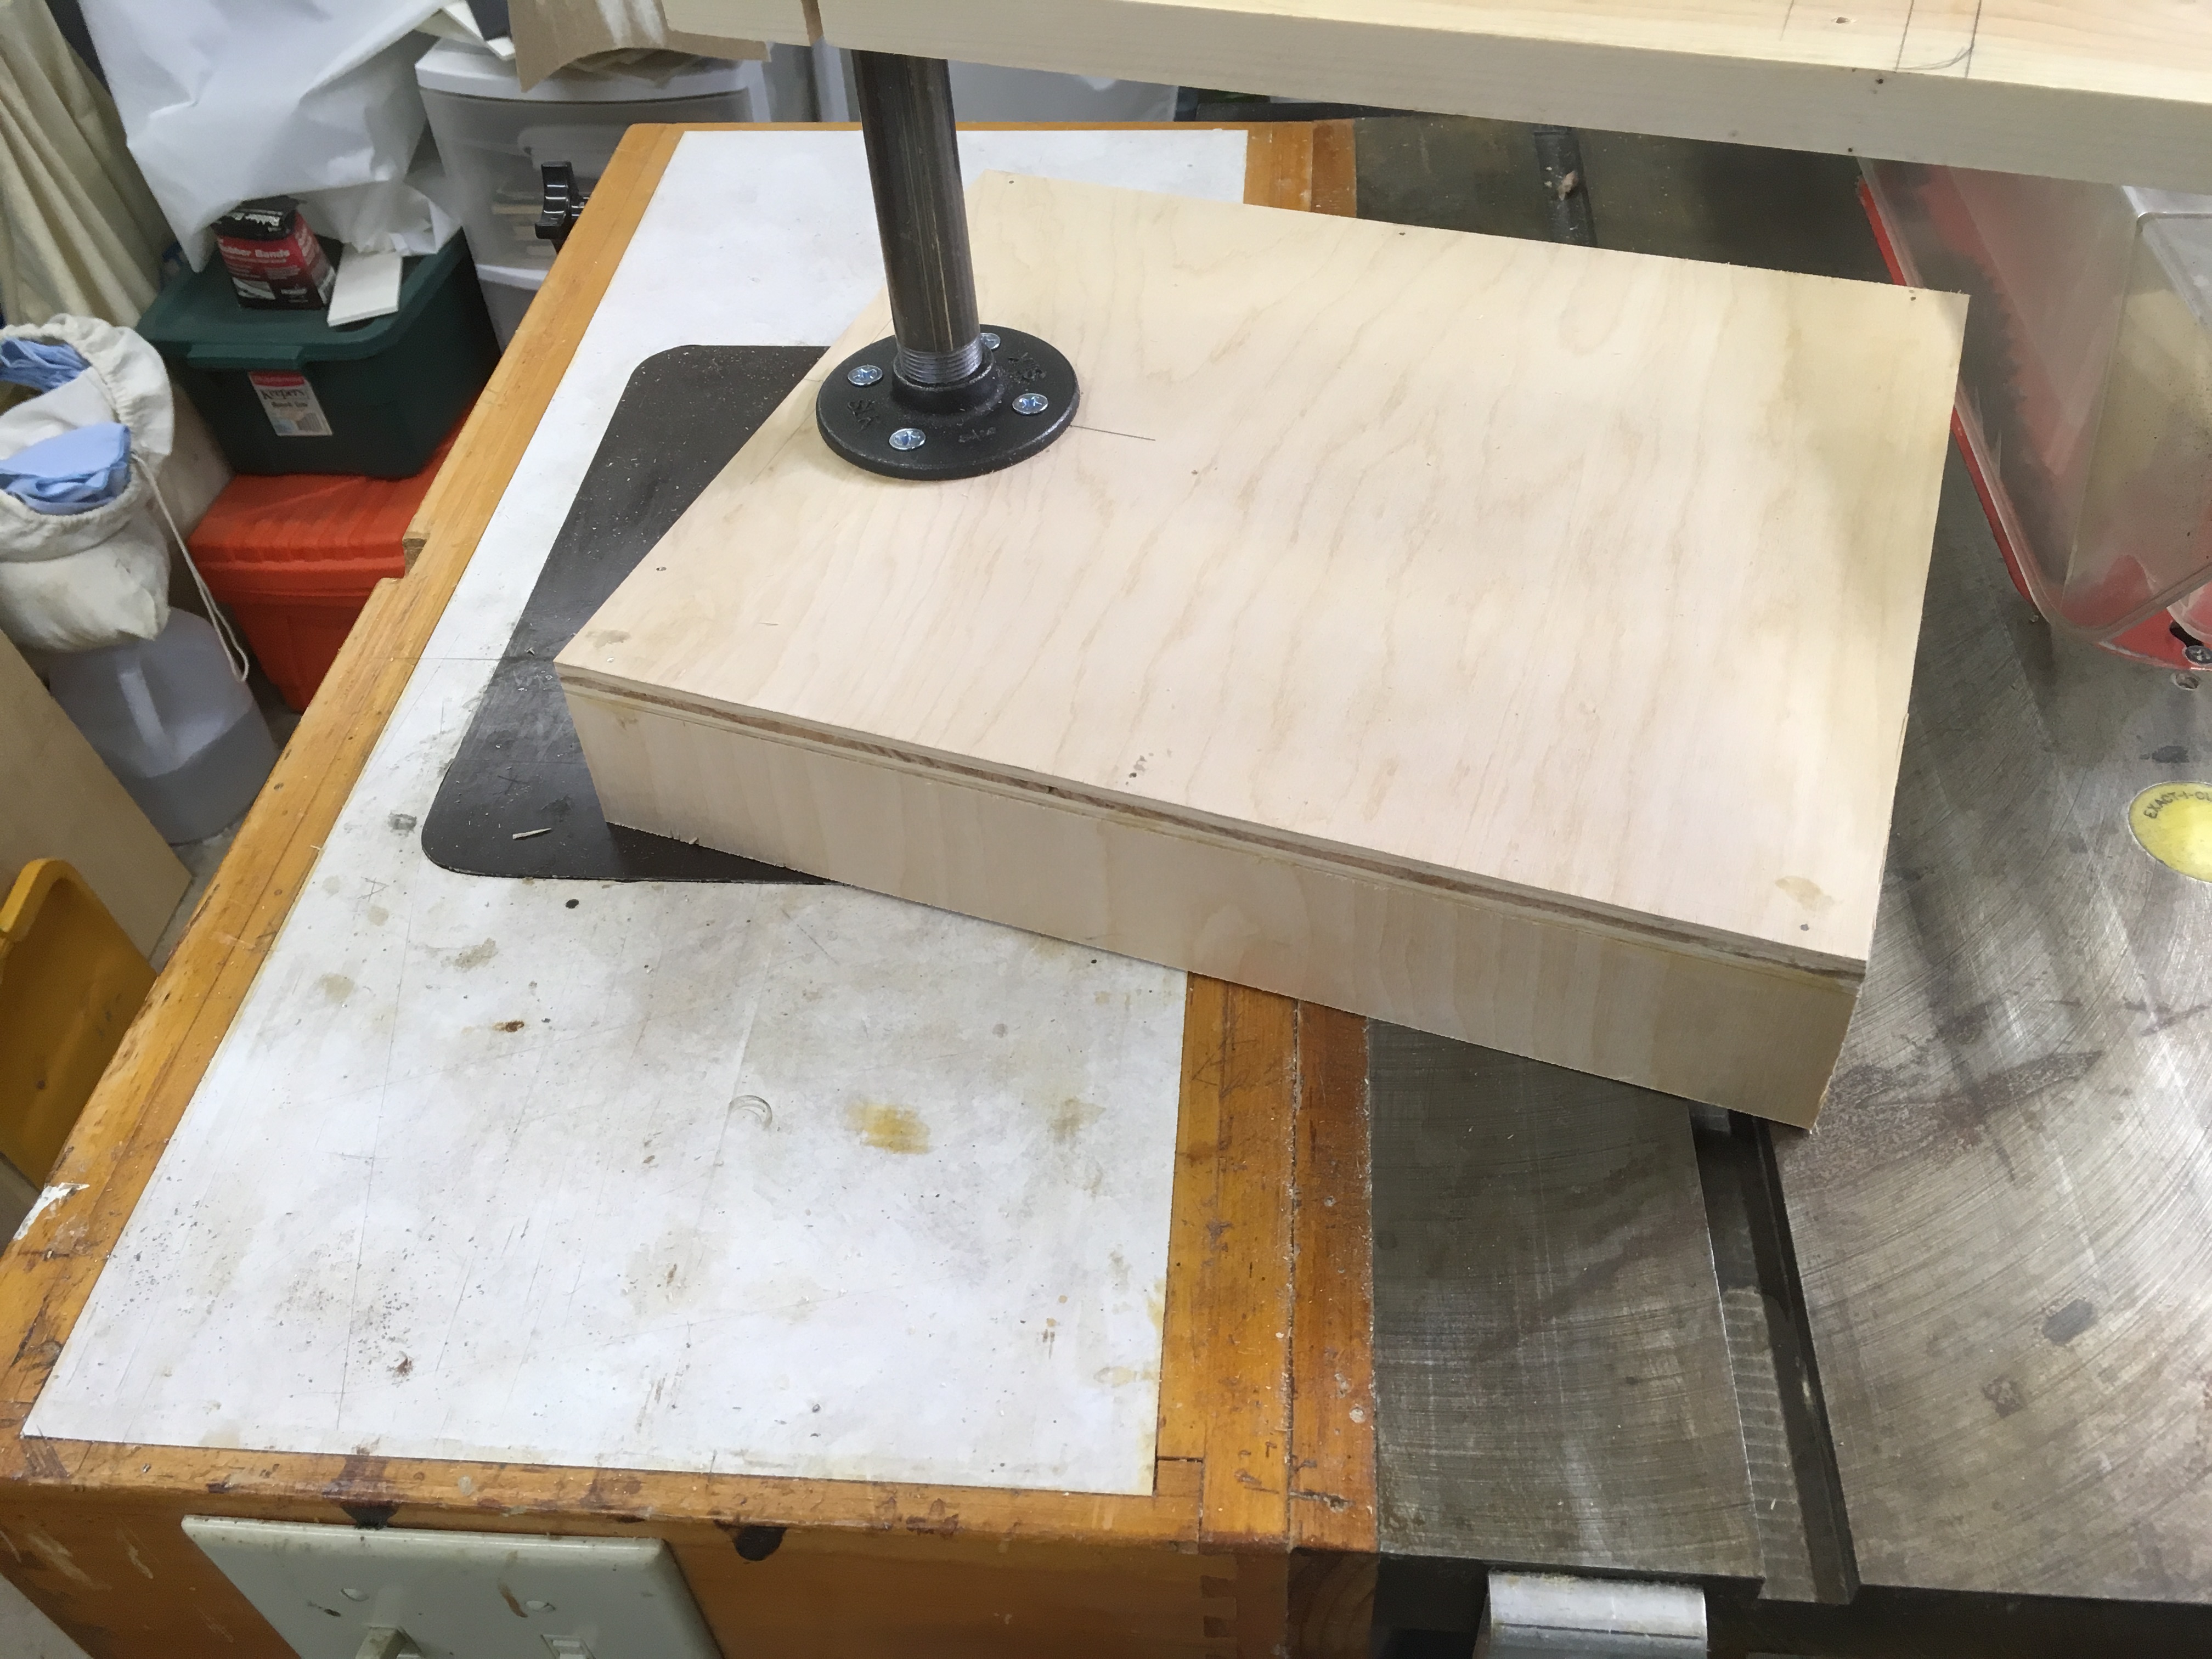
- Made a platform from the Baltic birch. Top was 12*18 inches and was raised up by 2 inch tall runners on the side.
- Bolted the black pipe floor flange to the platform. Since floor flanges are obviously not made to have the pipe be vertical, spent some time shimming the flange so the pipe would be vertical.

- Bolted on the diving board and mounted the jigsaw. Transferred measurements to the platform and drilled a hole to let the file pass through.
- My first test of the system was with a wood block mounted underneath the platform with a clamp. It seemed to work reasonably well. At higher speeds the whole table vibrates. I will need to clamp it to a work surface.


I still need to built an assembly to hold a ball bearing to support the free end of the file. This assembly will mount under the table and will designed with slots to be adjustable. I ordered V notch bearings to capture triangular and round files. I will order flat bearings for flat cross section files.
I also need to figure out a way to dial in a speed. By jigsaw had a trigger lock, but only to run it a full speed. I wonder if a light dinner might work?